
How do I create or edit tour templates so that I can manage my events?
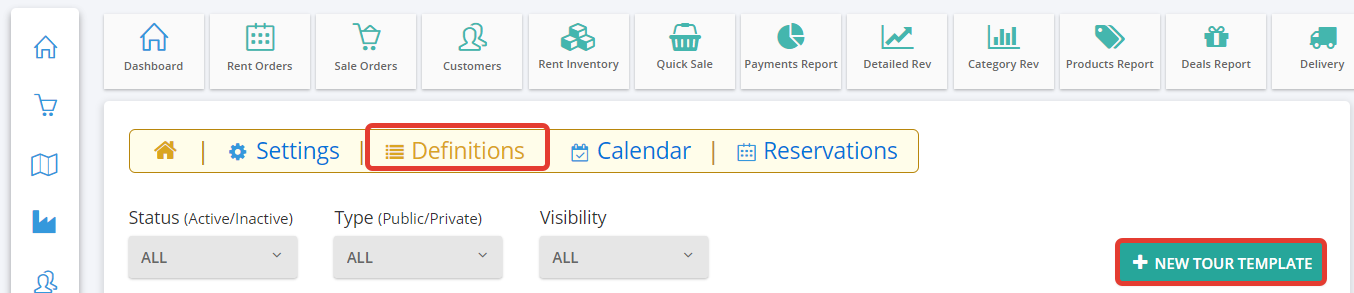
In the main dashboard, click on Tour Definition under the BASIC INFO section or click on Tour Definition from the sidebar menu.

Click on the "New Tour Template" to create the template. Here you may define the definition of the tour as a private tour or a public tour.
1, Private tours can be run internally for walk-in clients and they can be only visible to your staff to make the reservations.
2, Public tours are visible for all the online/walk-in clients & staff.
There, you should see 6 tabs: Basic, Pricing, Add-ons, Locations, Description, and Gallery
1, Basic:
Here are the following settings in order:
- Code: The name used to quickly identify the tour. It is paired with a number to identify tour events.
- Name: The full name of the tour displayed in the order form
- Start Time: The earliest time a tour event can start
- Duration: The planned duration of a tour event and to be mentioned in minutes.
- Capacity: The maximum amount of people to join the tour event
- Threshold: The minimum amount of people to join the tour event. The orders can be set to auto-confirm when the threshold limit reaches.
- Minimum Cost: The minimum cost to join the tour event. This feature is only available for Private Tours.
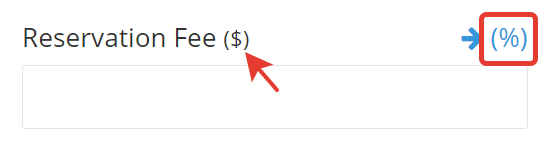
- Reservation Fees: A deposit that needs to be paid prior to holding a reservation. Can either be a fixed amount or a percentage of the total cost. Click on the "%" icon to set the reservation amount in percentage.
- Cancellation Fees: A fee that the customer needs to pay in order to cancel their reservation. Paid fees will be refunded to the customer. Can either be a fixed amount or a percentage of the total cost.
- Weight: The weight controls the order in which the tours are shown to the customer. A tour with greater weight will be shown first in the order form. It is just like prioritizing the tours on the order form.
Is active: Events can only be created if the tour is active.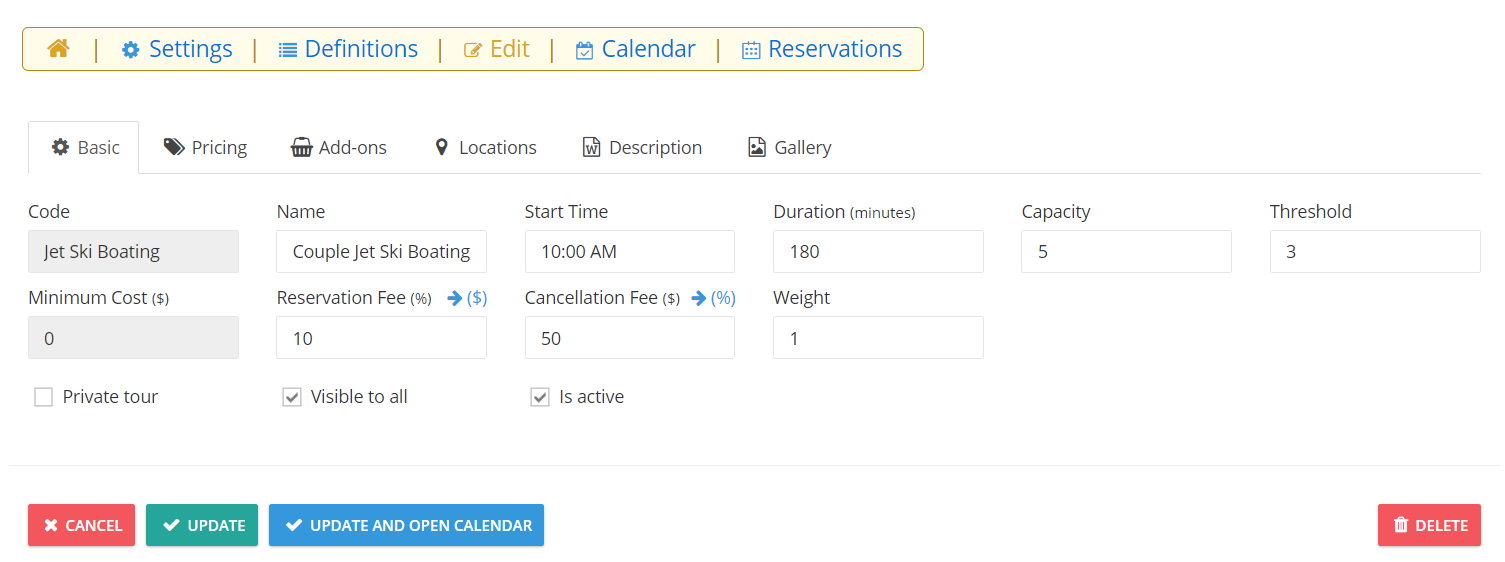
Click on the "Update " button to save the modifications.
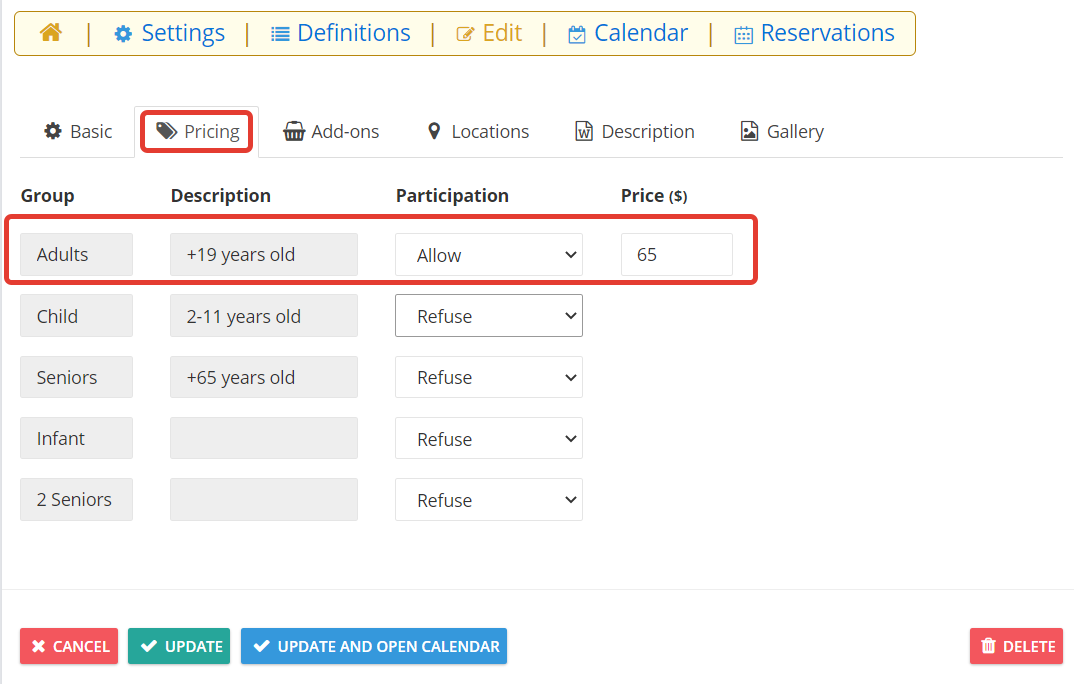
2, Pricing:
Choose which age groups are allowed to participate in the tour and the pricing for each age group. The above screenshot is for Jetski boating and recommended age group is +19 years old so make that participation as allow.
NOTE: Age group can be changed in the Tour Settings (Learn more)
Click on the "Update " button to save the modifications.
3, Add-ons:
Decide whether or not to include Add-on items for sale.
NOTE: To create add-on items, go to the Tour Settings (Learn more)
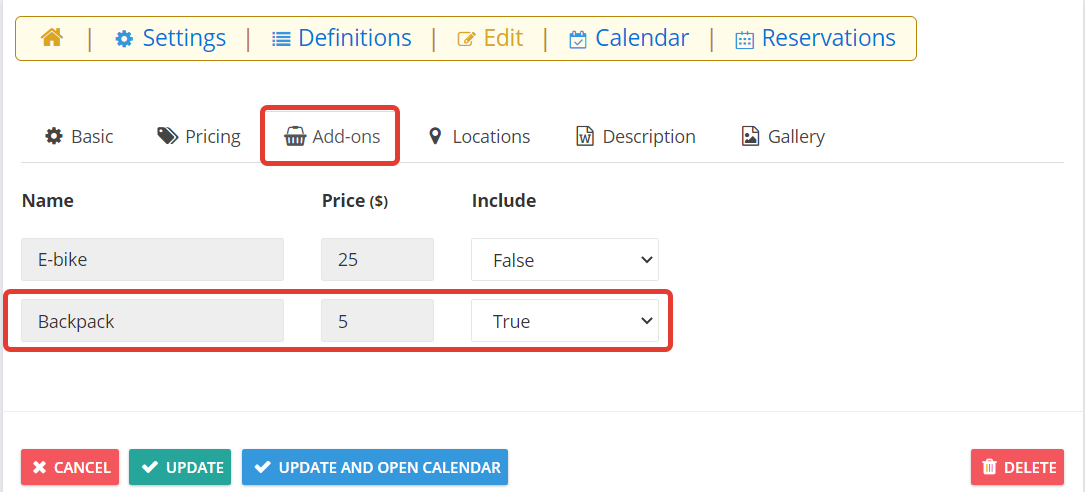
Click on the "Update " button to save the modifications.
4, Locations:
Select the start and finish locations. You also have the option to add new locations for Pickup or Drop-Off.
NOTE: The options for locations are set in the Tour Settings (Learn more)
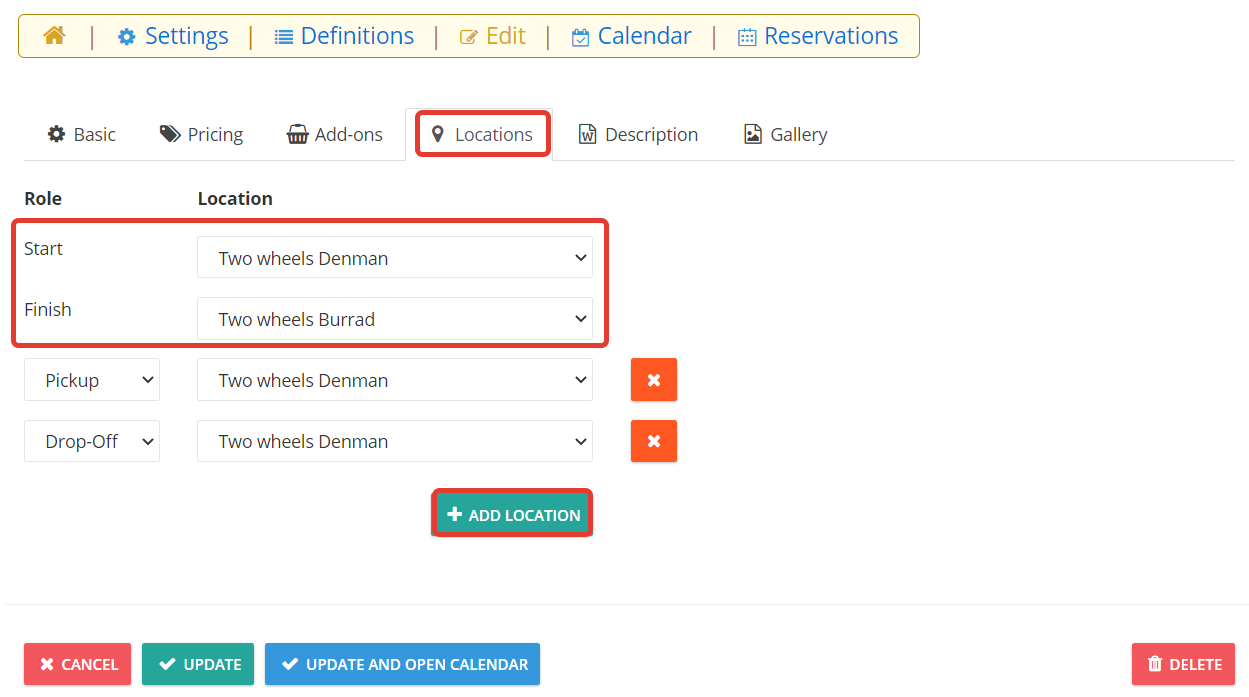
Click on the "Update " button to save the modifications.
5, Description:
In the order form, a description of the tour is shown to the customer besides the tour schedules and pricing. Write the description in the text field.
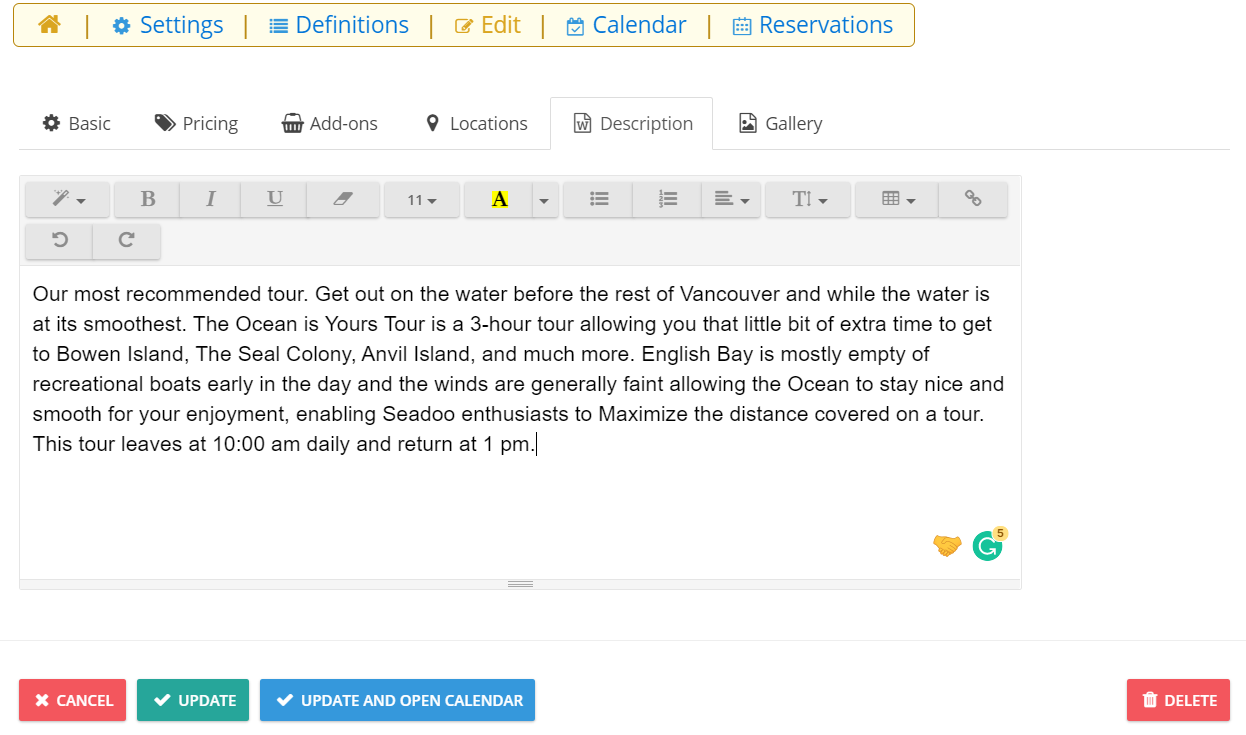
Click on the "Update " button to save the modifications.
6, Gallery:
In the order form, a gallery is shown to the customer besides the tour schedules and pricing. Add customized images by clicking "Choose File".
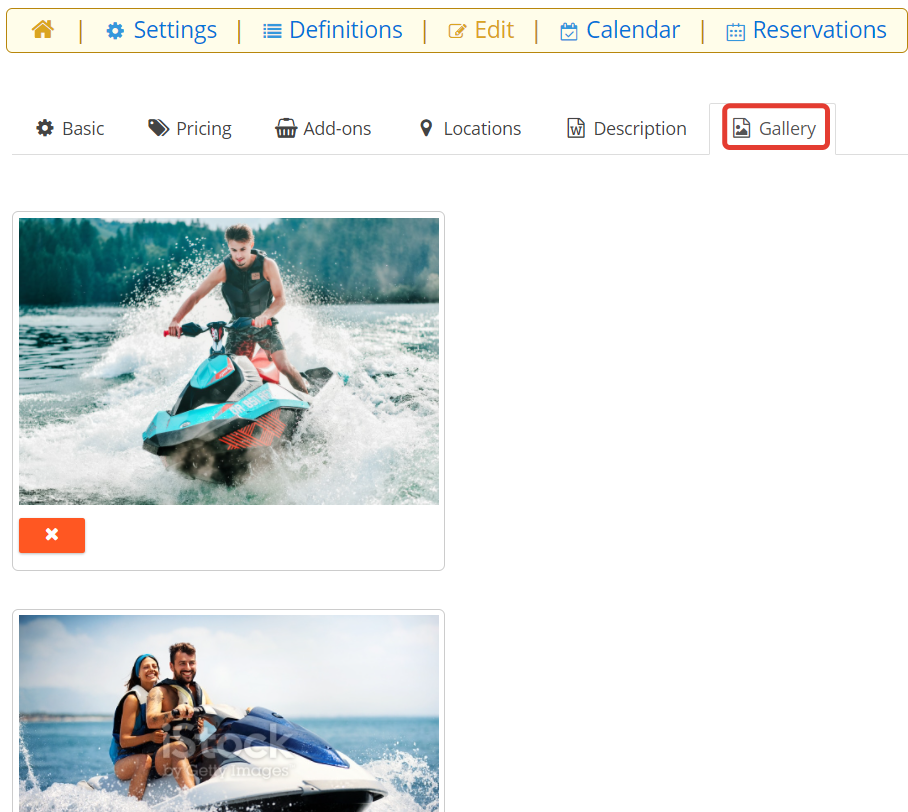
Click on the "Update " button to save the changes.
NOTE: Enter your Access key after every modification. The access key can be set under user management (Learn more).
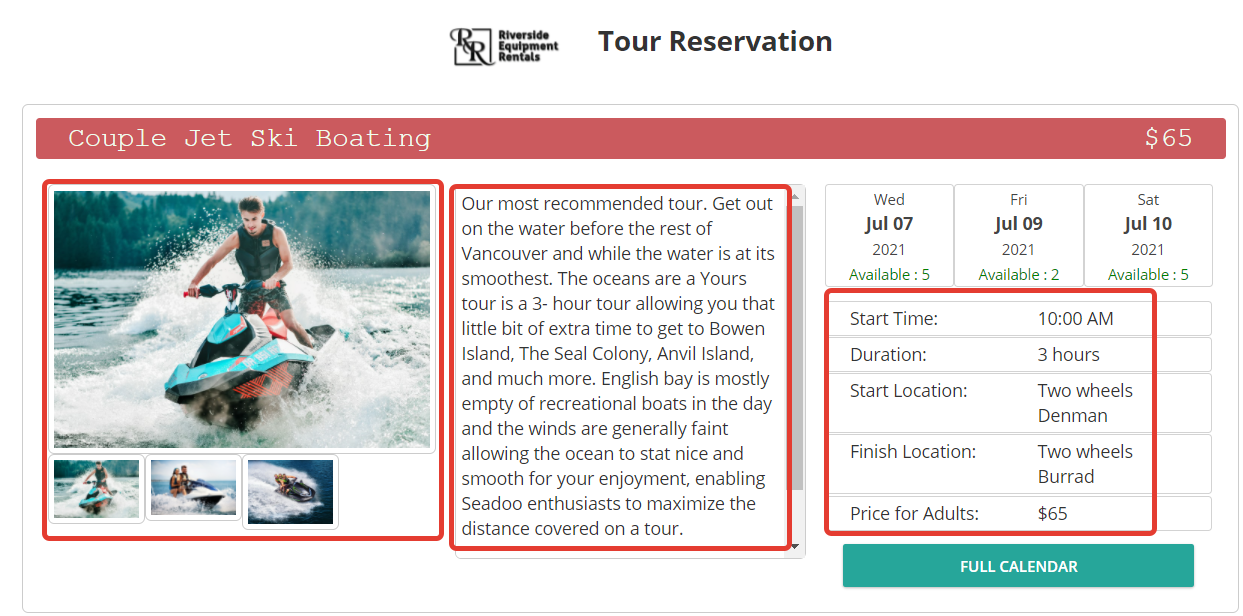
This is how it looks on the reservation page after the template setup process is done.
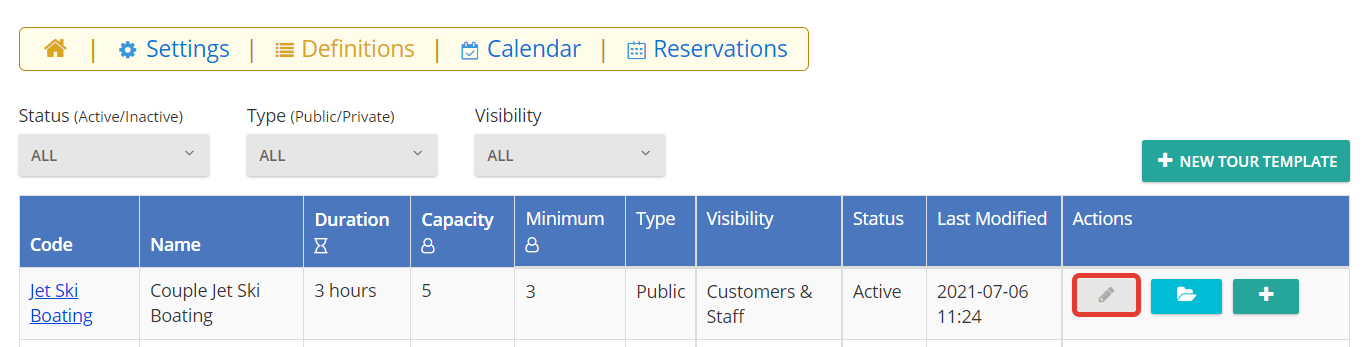
EDIT THE TEMPLATE
To edit an existing template, click on the "Edit this Tour Template" beside the template.
Click on the update button after every modification.
Rentrax collects the Accesskey and tracks at the backend who made the recent changes. The access key can be set under user management (Learn more).
DELETE: Make sure deleting the tour template will delete all the events too.